4 Steps for Basic Deck Maintenance
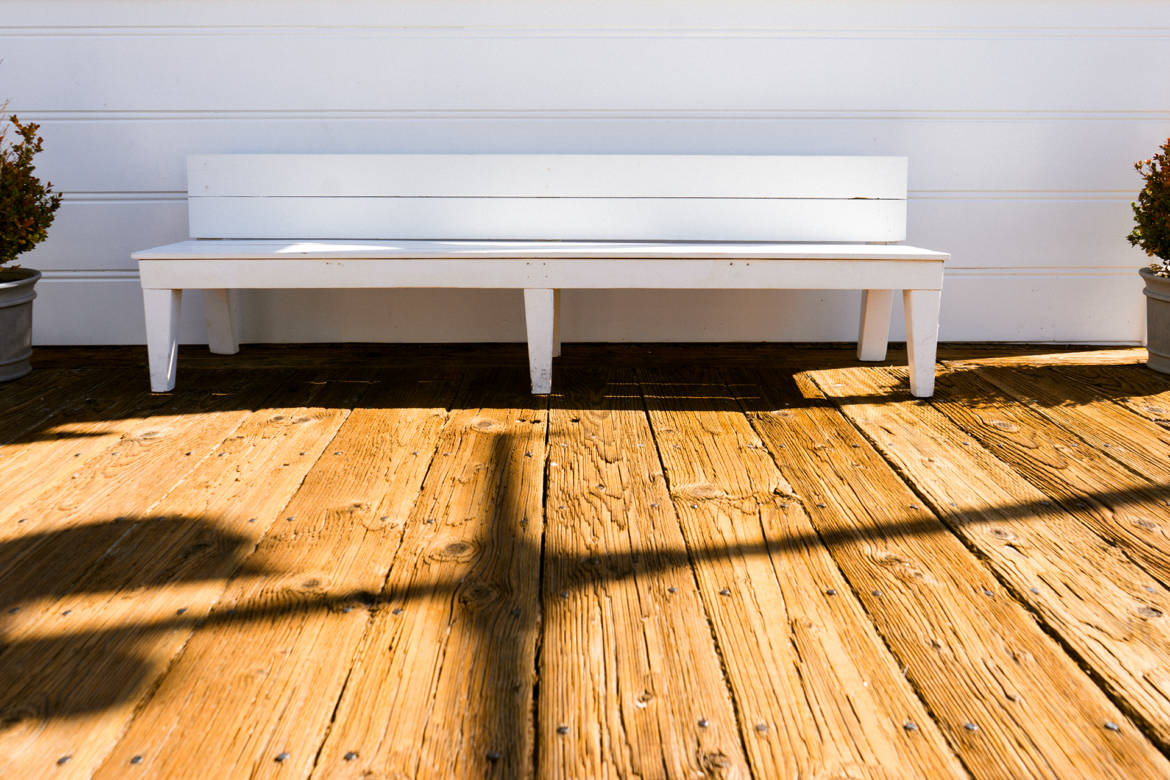
Decks are made for summer. As a homeowner, decks are a convenient, low-budget way to entertain guests and enjoy the weather right in the security and comfort of your own home.
However, decks can also require a lot of upkeep to keep them in top shape. If you own a deck at your home, you may have experienced discoloration, splintering, and other forms of wear and tear that could result from lack of proper maintenance. Fortunately, keeping your deck in beautiful shape doesn’t need to be a headache. Here are some basic deck maintenance tips to help keep your deck looking and feeling like new.
1. Inspect
You should get in the habit of regularly inspecting your deck at least once per year. This will help you nip any issues in the bud before they become a larger problem. First, remove any furniture or obstacles that will get in the way. Then look for any protuberant nails or loose boards to repair, as these could be a dangerous safety hazard. Make sure to also check any hardware below the deck, such as joist hangers, and replace anything that looks worn or rusty. Next, apply a bit of pressure to each of the railings; if any of them feel loose or shaky, you’ll want to reinforce it.
After this, focus on the wood itself. Look closely at each board for any cracks. Depending on the age of your deck and its exposure to the elements, the wood could be showing signs of rot. An easy way to check if you have deck rot is to probe the wood with a screwdriver. If the wood feels soft and the screwdriver makes a depression, it’s likely that you have rot. You should remove and replace these boards to prevent the rot from spreading. And when in doubt about any of the above, call a professional to help.
2. Clean
Now it’s time for preventative measures. Carefully cleaning the deck is an easy way to prevent mold and mildew from building up, which can lead to rot in the first place. First, choose a day when the weather will be somewhat cool and cloudy- you don’t want the cleaner to evaporate in the heat. Before you wash, let’s check off a few other boxes first. Grab a putty knife and remove any dirt you find between the deck boards. If your deck is elevated and you have an extension pole handy, do the same for the bottom of the deck. Next, thoroughly sweep the deck to remove any remaining dust or grime from the surface. And finally, make sure to cover any nearby plants with a plastic sheet to protect them.
NOW we’re ready to wash. There are many different types of deck cleaners to choose from. The best deck cleaner for you will depend on your type of deck and your situation. For example, if you have a mildew problem, you definitely want a cleaner with mildewcide. Whatever product you go with, make sure to follow the preparation and application instructions clearly. Use a heavy-duty deck scrub brush to apply the cleaning solution. Spread it evenly around the deck to avoid any pooling.
A power washer will usually save you a lot of time and labor, and help you clean those hard-to-reach crevices between the boards. However, if used improperly, you could end up damaging the deck. Hold the nozzle at a 45-degree angle, and use large sweeping motions as you spray. Be sure to read your power washer’s manufacturer instructions for proper use and care.
Your deck will need at least a full night to dry, or 1-2 days to be safe.
3. Seal
Once you’re sure the deck is 100% dry after cleaning, you can move on to sealing the deck. First, you’ll need to decide what type of finish you want. If you want the wood to retain its natural look, you’ll want to use a clear waterproofing seal. Staining will apply some color and give your deck a more “finished” look. Staining, especially with darker pigments, will generally provide more UV protection from sunlight than clear sealers will. A semi-transparent or semi-solid stain is preferred for maximum protection; you want something that will really soak into the boards.
Regardless of the finish you choose, you’ll need to find the perfect two-day window for application. You need clear skies, but you also don’t want sweltering heat. Then it’s time to start sanding. The type of sandpaper you need depends on the type of wood you have. For hardwoods, you’ll probably need something coarse like 20 grit. For softer woods, 50-80 grit should suffice. Use a pole sander for the hard-to-reach spots and to make your job easier in general.
Now use a roller to apply your stain or sealer. Generally, you’ll want two thin coats rather than one thick coat. Just like when you were cleaning, make sure to avoid any pooling and, if spraying, cover any plants or other adjacent items. Be sure to follow all of your product’s specific instructions for application and drying.
Depending on what type of sealer or stain you use, it could last anywhere from 1 to 5 years.
4. Maintain
Phew. That was a lot of work. Now for some things to make sure all that hard work doesn’t go to waste. For one, make sure you sweep on a regular basis. If you have trees near the deck, sweep off any leaves or pine needles that may fall on the surface. When these get wet, it could turn your deck into a breeding ground for mildew if not taken care of. The same goes for any plants you have near the deck- if they are touching your deck, make sure to trim them as needed. Additionally, certain chemicals you may use to treat those plants could harm the finish on your wood, so use these cautiously.
To avoid a mismatched finish on your deck, make a point to move the furniture around once in a while. Think about what it would look like if you only applied sun screen to one part of your back for a day at the beach. Constant exposure to the sun could change the color of your finish over time, so move things around to ensure a consistent finish throughout.
Maintaining your deck takes some work, but if you keep up with it, it doesn’t need to be a hassle. We hope these tips help you to keep your deck looking fresh all year long!